How To Merge Customers
Merging customers in CashierLive is a handy feature for keeping your database tidy and organized
Let's walk through the steps together:
- Log in: Start by logging in to your CashierLive account.
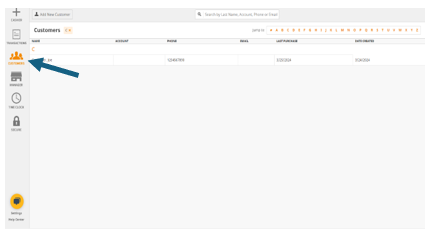
- Navigate to Customers: Look for the "Customers" tab or section on the CashierLive dashboard.

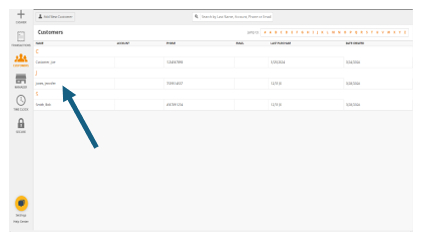
- Find the Customers to Merge: Take a look through your list of customers to find the ones you want to merge. This could be customers who have duplicate accounts or multiple entries with slightly different information.
- Select Customer: Select the customer you want to merge into another customer. This customer's profile will be deleted, and transactions will be moved to the 2nd customer.

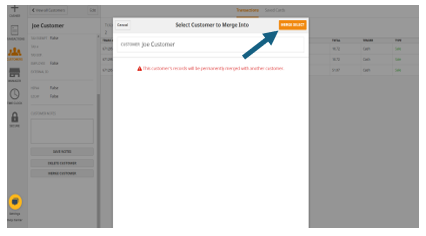
- Merge Customers: Once you've selected the customers, scroll down in the customer details window and look for the option to merge "Merge Customer". Click on it to start the merging process. You will get a confirmation window warning you that this will permanently delete this customers records. Click “Merge Select” to continue.

- Confirm 2nd Selection Search and select the 2nd customer who will be receiving the 1st customer's transactions.

And there you have it! You've successfully merged customers with CashierLive, streamlining your database and ensuring accurate records. If you have any questions or need further assistance, feel free to reach out to CashierLive's support team—they're always ready to help.